Creative Ideas and Tips for Designing an Eye-Catching Baby Shower Welcome Sign
Creating a Memorable First Impression: The Art and Science of a Baby Shower Welcome Sign
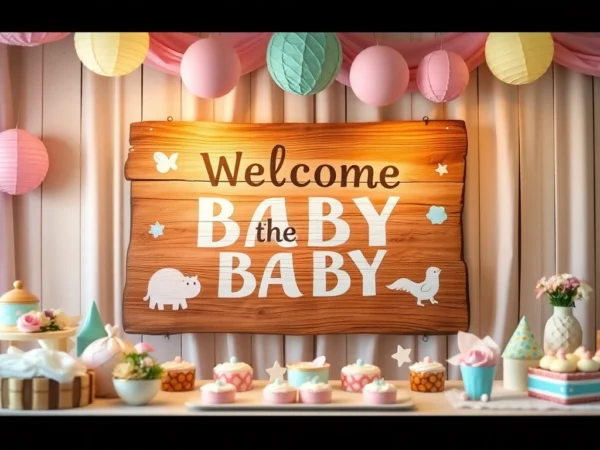
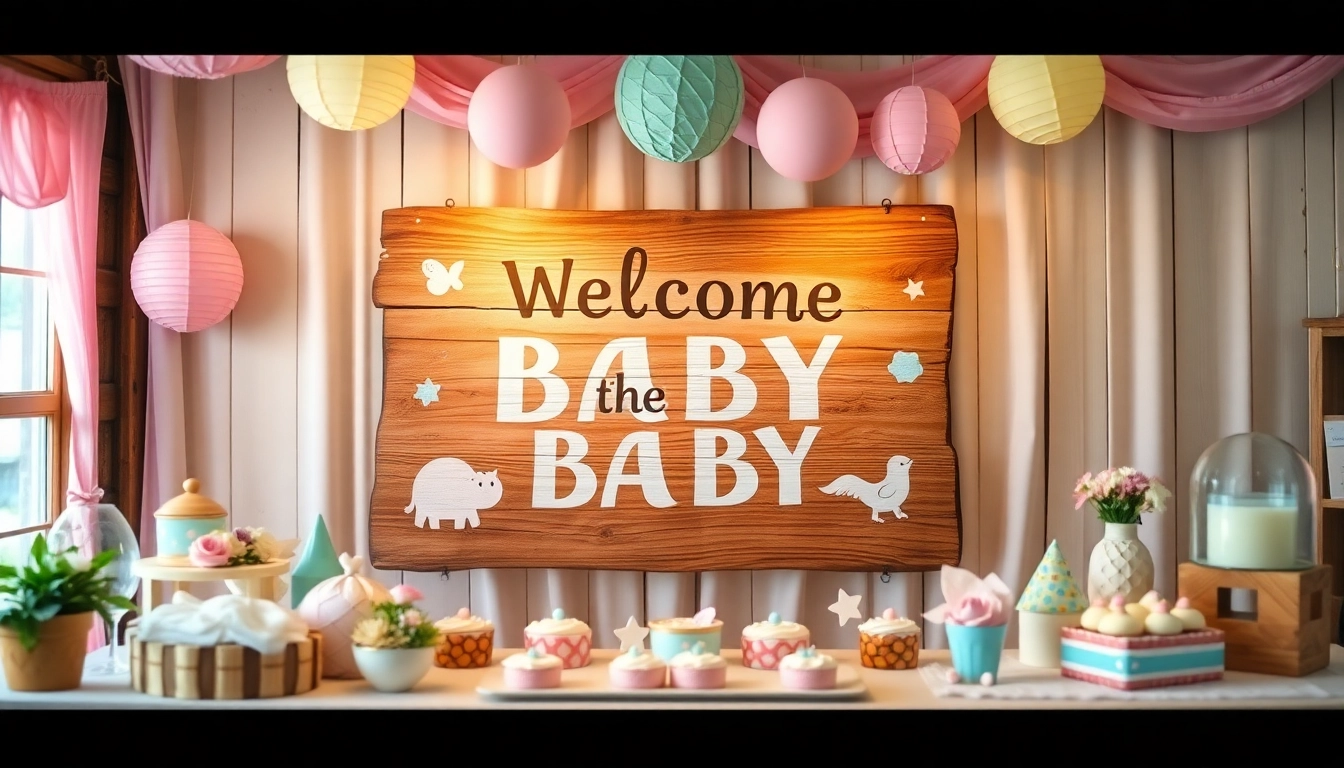
Hosting a baby shower is a special occasion that celebrates new life, family, and community. One of the most impactful elements in any celebration setup is the baby shower welcome sign. This seemingly simple decor piece sets the tone for the event, greeting guests with warmth and style while embodying the theme and personality of the parents-to-be. An expertly crafted welcome sign not only enhances your overall decor but also offers a memorable first impression that guests will cherish. In this comprehensive guide, we delve into the intricacies of designing, placing, and maintaining a baby shower welcome sign that truly stands out, transforming an ordinary gathering into an extraordinary celebration.
Understanding the Importance of a Baby Shower Welcome Sign
Setting the Tone for Your Celebration
The primary function of a welcome sign is to create an inviting atmosphere that reflects the theme and mood of the event. Whether you’re envisioning a whimsical, elegant, rustic, or modern decor style, your welcome sign acts as a visual anchor that communicates the vibe to every guest upon arrival. It signals that the hosts have put thought and care into every detail, fostering excitement and anticipation from the moment guests step into the venue.
Enhancing Decor and Guest Experience
Beyond aesthetic appeal, a welcome sign enhances the experiential aspect of your event. It helps guests navigate space effortlessly, especially in larger venues or outdoor settings. Additionally, a thoughtfully designed sign encourages interaction and photo opportunities, fostering memorable moments. It can also serve as a conversational starter, allowing guests to comment on the design, theme, or personal touches, thereby enriching the overall guest experience.
Popular Styles and Themes to Consider
The style and theme of your welcome sign should harmonize with your overall decor plan. Popular themes include:
- Rustic and Farmhouse: Use distressed wood, kraft paper, or chalkboard finishes for a cozy, country-inspired feel.
- Elegant and Classic: Incorporate gold foils, calligraphy fonts, and sleek acrylic or glass surfaces for a sophisticated look.
- Whimsical and Playful: Bright colors, playful fonts, and cute illustrations like baby animals or balloons set a joyful tone.
- Nature-Inspired: Greenery, floral motifs, and natural materials evoke freshness and vitality.
Matching the sign’s style to your overall theme helps create a cohesive aesthetic that delights guests and enhances brand consistency for your event.
Designing Your Perfect Baby Shower Welcome Sign
Choosing the Right Materials and Finishes
The materials you select influence not only the appearance but also the durability and ease of setup of your welcome sign. Common options include:
- Acrylic and Plexiglas: Offer a modern, sleek aesthetic with easy customization. Perfect for outdoor use due to weather-resistant properties.
- Wood and MDF: Provide rustic charm; can be stained, painted, or distressed for various looks.
- Cardboard or Paper: Budget-friendly options like printable templates or DIY signs, ideal for inclusion in a larger decor scene.
- Chalkboard or Blackboard: Versatile and reusable; ideal for DIY lettering and updates.
Incorporating Personalized Touches and Themes
Personalization elevates your welcome sign from generic to meaningful. Consider adding:
- Names and Dates: Including the baby’s name or expected delivery date adds a special touch.
- Custom Illustrations:
- Hand Lettering or Calligraphy: For a personalized, artistic feel, employ professional calligraphers or utilize premium fonts.
- Messages and Quotes: Expressions like “Welcome to our little miracle” add warmth and charm.
Baby items, balloons, animals, or themed icons reinforce your decor motif.
Using Color Palettes That Match Your Decor
Color coherence is essential. Match your welcome sign’s palette with your overall decoration scheme. For example:
- Soft pastels for a gentle, feminine aesthetic
- Bright primaries for a playful celebration
- Muted earth tones for rustic and vintage themes
- Metallic accents for elegance and glamour
When designing digitally or choosing printed signs, ensure your color scheme aligns with your event’s decor to maintain visual harmony.
Creative Placement and Display Ideas
Entrance and Pathway Setups
The entrance is the first point of contact; therefore, your welcome sign should be prominently displayed. Use stands, easels, or decorative frames to elevate the sign at eye level. For outdoor setups, consider large lawn stakes or sign holders that resist weather conditions. Position the sign near the driveway or gate, guiding guests seamlessly into the celebration.
Photo Backdrop Integration
Transform your welcome sign into part of a charming photo backdrop where guests can take pictures. Hang it as part of a floral arch, or incorporate it into a decorated wall with banners and props. Personalized signage with the baby’s name and theme details makes for memorable photos and sharable moments on social media.
DIY Stand and Hanging Options
For a bespoke touch, craft your own stands from materials like wood pallets, recycled crates, or pipe and drape. Hanging signs can be suspended with ribbons, twine, or decorative rods, especially in outdoor or open-air venues, creating a floating or marquee effect that adds visual interest.
Printing, DIY Tips, and Cost-Effective Solutions
Printable Templates and Digital Downloads
Numerous online platforms offer customizable templates, enabling you to print high-quality signs at home or via professional printing services. This approach is cost-effective and allows for rapid personalization. Look for free or affordable templates on sites like Kate & Meri, or consider purchasing premium designs for a more polished look.
Handmade Signs and Craft Techniques
DIY handmade signs can be incredibly charming and personal. Techniques include hand-lettering with paint or markers, decoupage, or applying decorative embellishments like ribbons, fabric, or embellishments. Use stencils for precision or freehand for an artistic flair. This approach allows total customization while keeping costs low.
Budget-Friendly Materials and Sourcing Tips
To stay within budget, repurpose household items like chalkboards, picture frames, or wooden palettes. Source affordable supplies from craft stores, dollar stores, or online marketplaces. Bulk purchasing of craft paper, paints, and adhesives further reduces costs. Planning and bulk ordering ensure you get quality materials at the best prices.
Maintaining Event Cohesion and Making an Impact
Matching Signage with Overall Decor
The key to a cohesive aesthetic is consistency. Ensure all signage, including the welcome sign, RSVP cards, table numbers, and cake toppers, reflect the same style, color scheme, and lettering. This synchronization enhances the visual narrative and professional appearance of your event.
Including Guest Names and Message Options
Personal touches such as guest names on the sign or adding a message board with well-wishes foster engagement and warmth. Consider incorporating interactive elements like a guestbook or a message board alongside the welcome sign, encouraging guests to leave notes and advice for the family.
Feedback and Performance Metrics for Success
Post-event, assess the impact of your signage by collecting feedback through photos, guest comments, and social media engagement. Track how many guests used the sign for photos or intense interactions, and note the overall matching of decor themes. This data can inform future events and improve your signage tactics.